The Gulag in Call of Duty isn’t just a random deathmatch, it’s a high-stakes 1v1 showdown that decides whether you respawn or get sent to the Gulag again. Whether you’re playing Warzone or other multiplayer modes, dominating the Gulag separates the casuals from the players who consistently come out on top. If you’ve ever felt like the Gulag is pure luck, you’re missing half the strategy. The truth is, it’s a mix of weapon knowledge, map awareness, aim discipline, and reading your opponent’s moves. This guide breaks down everything you need to know about Gulag combat in 2026, from which weapons will give you the edge to positioning tricks that’ll catch your enemy off-guard.
Table of Contents
ToggleKey Takeaways
- Mastering the Gulag in Call of Duty requires a blend of weapon selection, map awareness, aim discipline, and reading opponent behavior—not pure luck.
- SMGs dominate Gulag combat due to their fast time-to-kill and sprint-to-fire speed, making them the top choice when available in loadout selections.
- Pre-aiming at head level before peeking corners and constant strafing while shooting are critical aiming techniques that separate skilled Gulag players from casual ones.
- Effective positioning and cover rotations—combined with strategic grenade usage like flash grenades—can turn a losing round into a clutch victory.
- Avoid common mistakes like blind spawning, standing still while shooting, predictable cover angles, and panic healing to increase your Gulag win rate consistently.
- Regular practice in multiplayer modes, studying pro player tactics, and adapting to seasonal meta shifts are essential for maintaining dominance in Gulag matchups.
What Is The Gulag In Call Of Duty?
The Gulag is Call of Duty’s 1v1 fight-to-the-death mechanic that appears in Warzone and certain multiplayer modes. Think of it as your last chance before elimination, when you’re down to your final life, instead of getting immediately booted from the match, you’re sent to a confined arena to duel another player in the same situation.
You either win the fight and respawn back into the main map, or you lose and get sent to the Gulag again (or eliminated entirely, depending on game mode). It’s a brutal, fast-paced encounter that heavily rewards aim, positioning, and weapon familiarity. The Gulag exists to add dramatic moments and give players a fighting chance when things look grim. Every decision, your loadout choice, how aggressive you play, where you stand, can mean the difference between clutching the round or getting reset.
How The Gulag Gamemode Works
Gulag Mechanics & Round Structure
When you enter the Gulag, you’re matched against one other player in a confined, symmetrical arena. The match is a first-to-kill scenario, no respawns, no killstreaks, just raw 1v1 combat. The arena is small enough that engagements happen fast, usually within 15–30 seconds from first contact.
Both players spawn on opposite sides of the map with a few seconds to position themselves. You’ll hear a loud audio cue when the round starts. From that moment, it’s your job to find, engage, and eliminate your opponent before they do the same to you. Most Gulag rounds are brutal and decisive, there’s no time to heal up or regain position if you take damage.
Weapon Selection & Loadouts
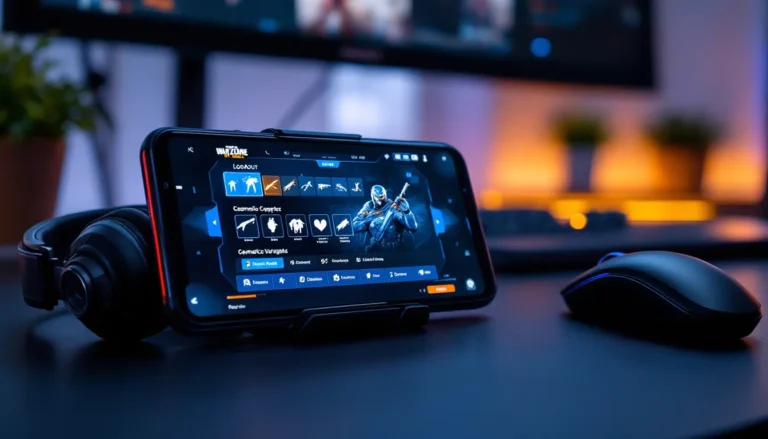
This is where strategy enters the arena. Before each Gulag round, you’re shown a selection of loadout options, typically 3–4 different weapon setups that are randomized each time. You have a few seconds to pick your loadout before the match begins.
Each loadout usually includes a primary weapon (assault rifle, SMG, shotgun, or sniper), secondary, and tactical equipment. The loadouts are predetermined by the game, so you don’t have full control, but understanding the meta weapons helps you choose the best available option. Some loadouts come with better attachments or weapon classes than others.
Pro tip: If the loadout choices are weak, pick the one with the best hip-fire accuracy or fastest TTK (time-to-kill). Speed matters more than accuracy in close quarters.
Respawn Rules & Elimination
In standard Warzone, winning the Gulag earns you a respawn back into the main map. You’ll drop back in near your squad or at a designated respawn location. Your armor will be partially restored (usually one plate), so you’re not immediately defenseless.
Losing the Gulag doesn’t always mean game over, it depends on the mode. In some versions, you get a second Gulag chance. In others, you’re eliminated and spectate your team. Understanding the ruleset of the specific mode you’re playing is crucial because it changes how aggressive or conservative you should play.
Best Weapons & Loadouts For Gulag Combat
Top Tier Weapons For 1v1 Encounters
Not all weapons are created equal in the Gulag. The tight spaces and fast engagement distances favor specific weapon types:
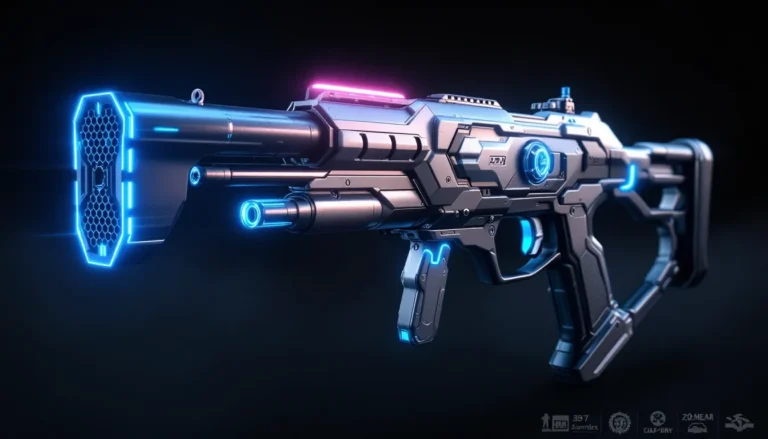
SMGs (Submachine Guns): These are the Gulag MVP. The Jackal PDW, Kompakt 92, and Lw3A1 Frostline dominate close-range duels with their crazy fast TTK. If the Gulag loadout offers an SMG, it’s almost always your best choice. The sprint-to-fire time is insanely fast, letting you round corners and shred opponents before they react.
Shotguns: One-shot potential is terrifying in tight spaces. Weapons like the Marine SP can delete an opponent instantly if you’re close enough. The downside? You have to commit hard and push aggressively. If your opponent sees you coming, a single burst from an assault rifle will stop you before you’re in range.
Assault Rifles: Reliable all-arounder with decent range, accuracy, and magazine capacity. They’re not as dominant as SMGs in close quarters, but they’re solid backups if SMG options are terrible. The XM4 and GPMG-7 can shred at mid-range if you strafe correctly.
Sniper Rifles: Memeable but viable if you have crazy aim. One headshot ends it. The problem? You need clean sightlines and your opponent needs to cooperate by standing still. Most Gulag arena designs don’t favor long sightlines anyway.
Avoid pistols and LMGs unless there are literally no other options. They’re disadvantaged in 1v1 Gulag settings.
Equipment & Tactical Strategies
Your secondary equipment can swing a round. Flash grenades are underrated, a well-timed flash disorients your opponent and gives you a free second to close distance or line up a shot. Stun grenades do something similar but keep you in the fight more directly.
Lethal equipment like frag grenades can be clutch if you know your opponent is camping a corner. Toss it, wait for the pop, and push. Thermite creates temporary walls of flame, forcing your opponent to move or take burn damage.
The best tactic? Pick loadouts with flash grenades whenever available. A 1–2 second window of blindness is enough to close the gap and secure the kill with an SMG or shotgun. If grenades aren’t an option, focus on positioning and crosshair placement instead.
Gulag Map Strategies & Positioning Tips
Map Control & Spawn Awareness
The Gulag arena changes seasonally, but certain principles remain consistent. Every spawn point has sightlines to the enemy spawn. Understanding where your opponent is likely to move first is half the battle.
When the round starts, you have two strategies: aggressive spawn push or position trade. An aggressive spawn push means you sprint directly at your opponent before they can set up. This works best with an SMG or shotgun. A position trade means you immediately move to a better part of the map, a corner with cover, higher ground, or a choke point, and wait for them to come to you.
Neither is always right. Read the loadouts: if both players got SMGs, aggressive play might be your only option since the fight will happen fast anyway. If you got an assault rifle and they got a sniper, controlling mid-range is key.
Spawn prediction: Players often assume the opponent will push immediately. Position yourself along the path they’d naturally take. Don’t stand exactly at your spawn, rotate 5–10 meters to gain an angle.
Cover Usage & Movement Patterns
The Gulag isn’t wide-open. There are walls, boxes, pillars, and environmental covers scattered throughout. The best players don’t just hide behind cover, they use it to peek, strafe, and reposition.
Peek angles: When you’re behind cover, you want to angle your body so you can see around it without exposing your head. Practice peeking left and right without over-committing. Lean your shot out, land a few bullets, and reposition before they can land burst back.
Strafing while shooting: Most Gulag kills come from strafe-shooting, moving side-to-side while maintaining aim. Don’t stand still and duel: keep moving to make yourself a harder target. A moving opponent with 70% accuracy beats a still opponent with 90% accuracy because you’re harder to lead.
Use cover reactively: When you take damage, immediately slide or jump behind the nearest cover. Don’t peek the same angle twice, rotate to a different side or fall back further into the arena. Predictable movement gets punished hard.
The arena is small, so cover rotations happen quickly. Players often use cover to gain high-ground advantages. If there’s a platform or raised area, contest it. Height gives you a massive aiming advantage in 1v1s.
Advanced Tips For Winning Gulag Matches
Aiming Techniques & Crosshair Placement
In a 1v1 setting, aim separates confident players from shaky ones. Your crosshair should be pre-aimed at head level before you even see your opponent. This gives you a massive advantage the moment you peek a corner, you’re already aiming at where their head should be.
Pre-aim height: Stand at medium distance from cover and position your crosshair at the exact height an opponent’s head would be if they rounded that corner. This sounds simple but it’s missed by most casual Gulag players. When they do appear, you’re already on target and can land shots immediately.
Recoil control: Your weapon has visual recoil and actual bullet deviation. For SMGs, recoil is manageable, burst short 3–5 round groups instead of full-auto spraying. For assault rifles, pull down slightly to compensate for upward recoil and keep bullets in the chest/head area. Practice in multiplayer matches to build muscle memory because Gulag rounds are too fast to think about it.
Sensitivity settings: Find a sensitivity that lets you flick to targets quickly without overshooting. Most competitive players use 6–10 sensitivity (depending on the game). Experiment in regular multiplayer to dial in your perfect sensitivity before taking it to Gulag.
Reading Opponent Behavior & Adaptability
The best Gulag players don’t just aim and spray, they predict behavior and adapt. Watch your opponent’s movement pattern. Are they aggressive pushers? Are they playing passive and camping? Do they favor one corner?
If they’re rushing aggressively, back up and use range to your advantage. Force them to cross open ground. If they’re camping, use grenades to flush them out or rotate behind them. Most players fall into predictable patterns within seconds.
First engagement matters: The first few seconds tell you everything. If they peek and immediately back up, they’re nervous and probably low confidence, keep applying pressure. If they peek and land shots, they have decent aim, respect the engagement and use cover tactically.
Adapt your loadout usage too. If you picked an SMG and they have a shotgun, DON’T let them close distance. Keep mid-range and burst-fire. If you have a sniper and they have an assault rifle, hunt for one clean headshot and stay mobile so they can’t predict your position.
Stamina Management & Clutch Moments
You have limited stamina when sprinting. Smart Gulag players manage this, they sprint intelligently, not constantly. Save sprint for closing critical distance gaps or escaping disadvantaged positions.
When you’re low on health and need a kill, urgency creeps in. That’s when mistakes happen. Take a breath. You have a few seconds before your opponent pushes. Use that time to reposition, reload, or line up your next shot. Panicked spray usually loses 1v1s.
Clutch plays: If you’re one shot away from victory, slow down. Don’t rush. Peek methodically, land your shot, and secure the kill. If you’re about to respawn (winning), push confidently. But if it’s your last life (losing), play calculated because desperation shows in your movements. The better mentality going into a Gulag is always cool confidence, not panic.
Practice in normal multiplayer modes to normalize these high-pressure moments so Gulag doesn’t feel different. When you’re in the zone, Gulag is just another gunfight.
Common Gulag Mistakes & How To Avoid Them
Spawning and immediately pushing blindly: New players spawn and sprint forward without checking corners. You get ambushed instantly. Always pause for a half-second, listen for footsteps, and pre-aim before committing to movement.
Ignoring loadout matchups: Some players just pick the first weapon and engage without analyzing the situation. Stop doing that. If both players have shotguns, the one who pushes first usually wins. If you have a sniper and they have an SMG, abuse range. Pick your engagement distance based on loadouts.
Standing still while shooting: This is the biggest Gulag tell. If you stand still, even for a second, you’re making yourself a stationary target. Strafe constantly, jump, slide, movement is your defense.
Predictable cover usage: Hiding behind the same box and peeking the same angle twice gets punished. Rotate positions, change your peeking side, vary your timing. Mix aggression and patience so you’re unpredictable.
Not managing grenades properly: If you have a flash grenade, use it early when your opponent is in the open. Tossing it when they’re already behind cover wastes it. Similarly, don’t toss lethal grenades into empty rooms hoping for an accidental kill, throw them where you know they are.
Panic healing: You can’t heal during a Gulag. Some new players forget this and waste mental energy looking for a healing item. There’s no armor plates, no stim shots. Once you’re damaged, you stay damaged. Every shot counts, so prioritize getting first-shot advantage.
Tunnel vision: After landing a few shots, some players fixate on one corner and forget their opponent might have rotated. Keep your head on a swivel, listen for directional audio cues, and adjust your position if you haven’t seen them for 3+ seconds.
Many of these mistakes come from not treating the Gulag seriously. It’s easy to blame randomness, but truthfully, consistent Gulag wins come from refined mechanics and smarter decision-making than your opponent.
Conclusion
Mastering the Gulag isn’t about one magic tip, it’s about understanding the blend of weapon selection, map knowledge, positioning, and mental discipline. You need to pick the right weapon for the scenario, position yourself with intention, read your opponent’s behavior, and execute cleanly under pressure.
The players who consistently win Gulag fights treat every engagement like it matters because it does. A single Gulag win can swing momentum in a match and let your squad regroup. A loss sends you back for another attempt, but back-to-back Gulag losses kill your confidence.
Start by mastering SMG spray patterns in regular multiplayer. Learn the current Gulag arena layout and its cover positions. Watch how pro players handle 1v1 scenarios, competitive Call of Duty footage shows clean aim and calculated positioning in action. Practice your crosshair placement daily. Build these fundamentals, and Gulag victories will follow.
The meta shifts with patches and seasonal updates, so stay sharp and adapt when new weapons or map changes arrive. But the core principles of Gulag dominance remain: smart weapon choice, superior positioning, clean aim, and reading your opponent. Master those, and you’ll turn the Gulag from a coin flip into your personal hunting ground.